Let’s face it, most pear tart recipes are complicated. You have to make the dough, then let it rest. Next you have to pre-bake the crust, or maybe go out and get some frozen puff pastry. I’ve even seen recipes calling for making the puff pastry at home (not happening). Or, there are recipes requiring a traditional full-blown pie crust. I have a lovely apple pie recipe I hardly ever make because it’s just too much fussing. This rustic pear tart, on the other hand, is fairly easy and straightforward.
You don’t have to crimp the edges, or pre-bake the crust. You don’t even have to cook the pears in advance. I saw one recipe that had 22 steps! Nope. Nope. Nope. This recipe is much easier than that! There are only six steps. Much better! The active time is about 15 minutes of work, and the whole thing is done in about an hour and a half (including resting in the fridge and baking).
First you make the dough. That’s only five basic ingredients you likely already have at home. Then, you let it cool in the refrigerator for an hour, and press out the dough into a roughly circular shape. Next, add the fruit, sprinkle the spices on top, and bake.
I’ve made this tart with pears, because I had some extremely ripe pears I wanted to use up. If you don’t have pears, or would rather use something else, apples will work beautifully too. And, both are in season now. Once summer comes back around, you might try it with peaches or maybe plums too.
The original recipe (which I cut in half) required a food processor. If you don’t have one, you can use a pastry cutter or two sharp knives instead. I have included instructions for both.
UPDATE: I suppose I should say that I decided this was still too complicated and simplified it. What really happened was I looked at the wrong tart recipe and followed the dough recipe for that instead! Oops! But, a happy mistake, because it was delicious and easier! Win-win!

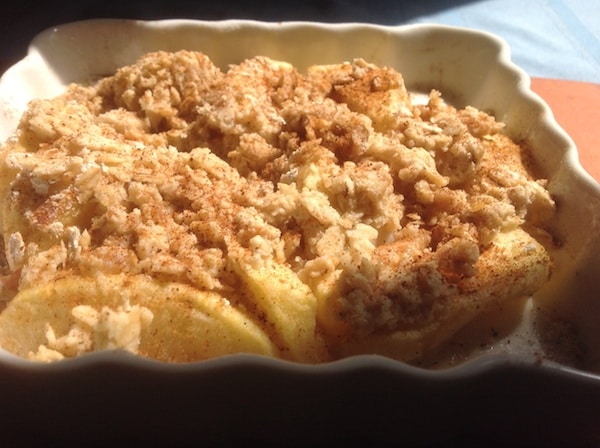
Rustic Pear Tart

Take advantage of seasonal fresh pears with this simple tart. No pre-baking required. Make the dough, cut the fruit, let it rest, and bake.
Notes
*If your pears are particularly sweet and juicy you can reduce or skip the brown sugar.
Ingredients
- 1 C flour
- 1/4 tsp kosher salt
- 1 1/2 tsp sugar
- 6 T cold butter
- 1/4 C cold water
- 2-3 pears, cored and sliced thinly
- 1 T brown sugar*
- 1 tsp butter, cut up
- 1/4 tsp cinnamon
- pinch nutmeg
- pinch ground ginger
- 1/4 tsp ground almonds (optional)
Instructions
- Mix the flour, sugar, and salt together in a bowl.
- Cut up the butter into pieces, and add that to the bowl. Cut the butter up with a pastry cutter or two knives. It should be the size of small peas. Then mix everything together.
- Add the cold water, one tablespoon at a time, until the mixture is moist enough to form a ball. Wrap it up in plastic wrap and refrigerate for an hour or two.
- Take the ball out of the fridge and preheat the oven to 400 degrees. Roll out the dough with a rolling pin until it is about 7 inches across. Or push it out with your fingers to form a rough circle.
- Arrange the pear slices on top. You can line them up carefully, or just toss them casually on the crust. Sprinkle the tart with the brown sugar, cinnamon, nutmeg, ginger, and almonds if using. Then add the remaining butter, cut up into little pieces, and dot the tart with it.
- Bake for 30-35 minutes until the crust gets brown and the fruit is juicy and tender. Top with whipped cream or ice cream.
Rustic Pear Tart Substitutions and Variations
- Don’t have pears? Make this with apples instead (or try peaches in the summer)
- Add some green cardamom to the tart (along with the other spices)
- Replace some of the flour with ground almond meal
- Add a little Reisling or other dessert wine to the filling
- Top with slivered almonds
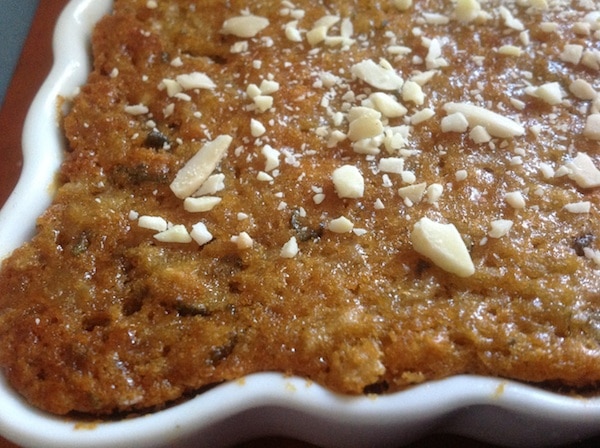
More Pear Dessert Recipes

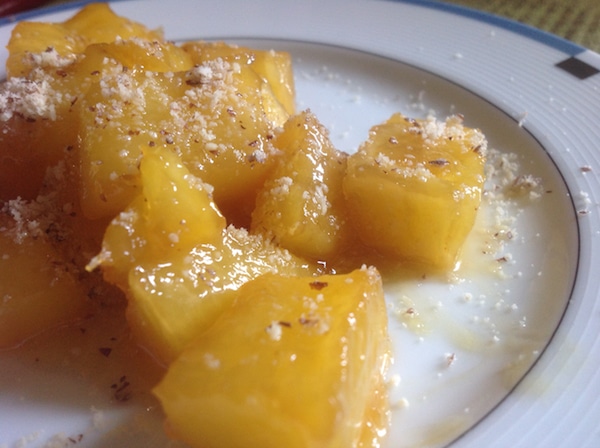
Sweet, juicy pears balanced with the bite of some cinnamon and a bit of ground ginger, topped with chopped almonds.

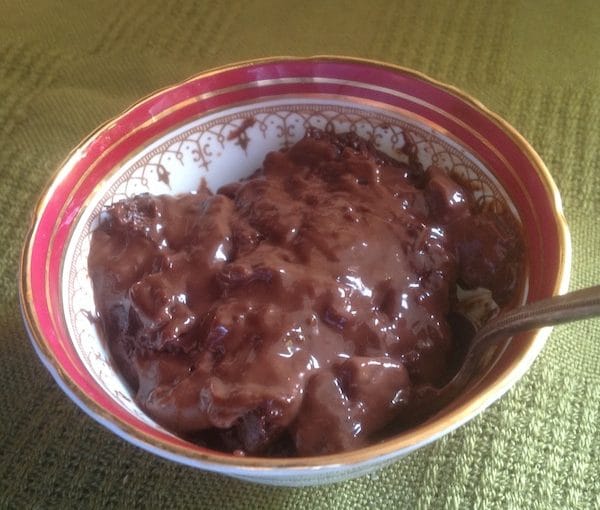
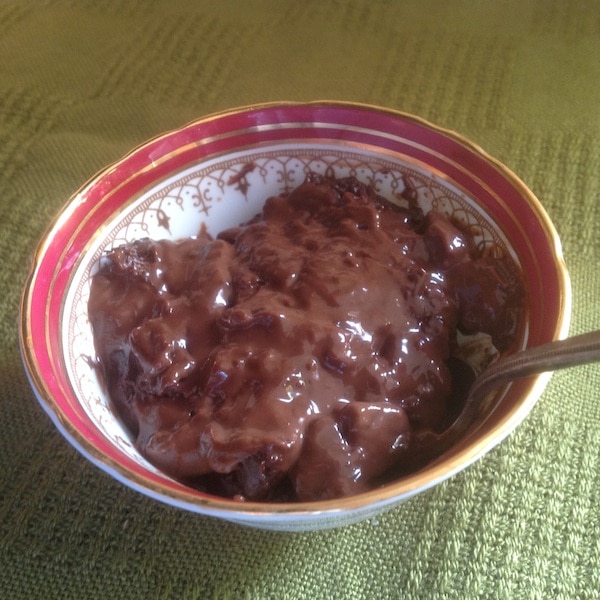
Poached Pears with Chocolate Sauce and Ice Cream
Indulgent? Maybe. So what. It’s rich, creamy, and delicious. Looks hard, but it’s really quite simple to make. Fancy enough for company, but worth it for yourself.
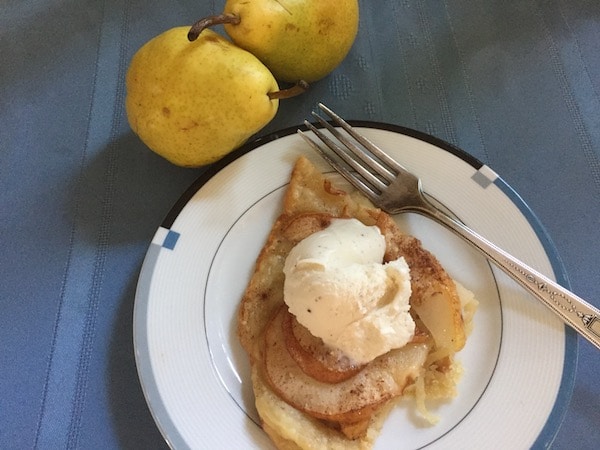
 Easy Pear Crepe Dessert Recipe for One Person
Real crepes are hard. This is easy. I cheated. Dessert in a few minutes, no bother. Still delectable. Serve plain or top with whipped cream or ice cream.