There are a lot of no knead crusty bread recipes out there. But, most of them require an overnight rise. No, I want my bread NOW! Others call for specialized tools, such as a bread proofing bowl or a Dutch oven. I have neither of those things. While, I don’t mind kneading (after all, I have a Kitchenaid), sometimes I want something crusty, rather than soft.
I got this recipe from life as a strawberry. After trying multiple no knead recipes, from The New York Times, from a couple of friends, and a few other sites, this was the only one that gave me consistently good results. And, unlike the other recipes I found, this one is pretty straightforward, no extra long rise or fancy tools. You mix the dough, let it rise, shape it, rise again, and bake.
I did later discover that my oven temperature was off by 25 degrees, so that may have been part of the problem. Turns out that is fixable and you can recalibrate your oven. Check yours!
I haven’t changed much, other than using instant yeast, in the recipe. But I did make a few tweaks in the instructions. For one thing, I didn’t want to buy a Dutch oven or a proofing bowl. And secondly, I found that covering dough with a towel, especially with a sticky dough, left me with a gooey, sticky towel that had to be washed.
-
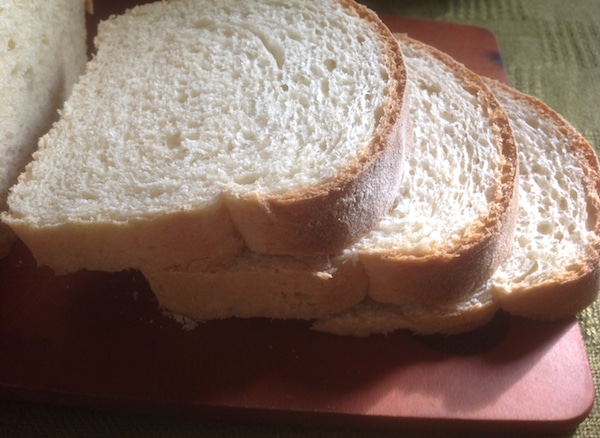
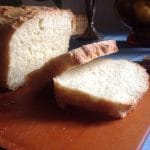
Easy No Knead Crusty Bread
 March 21, 2025Persons8Serving Size1 slicePrep Time15 minutesCook Time45 minutesWait Time2 hours, 30 minutesTotal Time1 hour
Ingredients
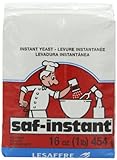
- 1 ½ teaspoons instant yeast or 2 1/4 teaspoons active dry yeast
- 1 teaspoon honey
- 1 1/4 cups warm water (not hot, it will kill the yeast, you want it a bit warmer than body temperature)
- 2 1/2 to 3 1/2 cups flour plus extra for dusting
- 1 1/4 teaspoons kosher salt (1 1/2 tsp for Diamond Crystal)
Instructions
Mix and First Rise
- Combine yeast, honey, and warm water in a large mixing bowl.
- Allow that to sit for about 5 minutes (instant yeast) or up to 10 for active dry yeast. It should look foamy, like a small head on a glass of beer.
- Now add the flour. I find that 2 1/2 to 3 cups works for me, depending on conditions. Start with the smaller amount, and add more if needed.
- Mix it with a large sauce spoon or a spoonula (sort of a slightly curved, slightly stiff spatula), until it starts to stick together and form a dough. It will look a bit ragged and shaggy, but that’s fine.
- Once the flour is incorporated, add the salt (we do that last because salt retards the yeast). Stir some more until there are no more loose flour bits.
- Cover the bowl loosely with a plastic produce bag. Let it sit in a warm spot for 1 to 2 hours. It should be twice its original size.
Shape and Second Rise
- Once the dough is ready, sprinkle flour on a cutting board or counter.
- Turn the dough out from the bowl onto the flat surface. Do not punch or depress it! If it sticks, rinse your hands in cold water.
- Now shape the loaf. Fold each “corner” of the dough in towards the center (like one of those old-fashioned origami fortune tellers. Fold down from the top, then in from the right side, then up from the bottom and finally in from the left. Keep doing that for a minute, turning the dough over once or twice. It should start to get “harder” and stiffer, and become more difficult to fold. When it does, flip it over again and pull the round dough towards you.
- Now, sprinkle some flour in another, smaller mixing bowl. Turn the dough over, so the seam is facing down. Cover it again, and let it rise for another 30 minutes.
- While the dough is rising for the second time, tear off a piece of parchment paper about 14 inches wide and set it aside.
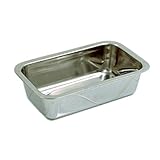
- Set the oven to 460. Fill a brownie pan with water about 2/3 of the way up. Put that in the bottom of the oven. If you have a Dutch oven, put that in there too, on the middle shelf. If not, use a chili pot or oven safe pot (about 3 quarts, wider than it is tall) and a cookie sheet. The cookie sheet should be upside down over the chili pot.
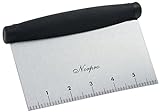
- Turn the dough over, so the seam side is up. Slice the top with a bench scraper (or a sharp knife), to allow more air to escape. I usually make a big X, then a parallel cut straight across the top, and another across the bottom (like an old-fashioned Roman numeral X)
Bake
- Once the oven is hot, remove the dough from the mixing bowl and place it on top of your sheet of parchment paper.
- Pull the chili pot and cookie sheet out of the hot oven, and carefully place the bread dough inside the pot. Return pot and cookie sheet to the oven and bake for 30 minutes.
- After 30 minutes, remove the cookie sheet and bake the bread for another 20-25 minutes. Check the water level in the brownie pan and add more if it’s gotten low.
- Once the bread is baked, carefully remove the chili pot (or Dutch oven) from the oven. Gently pull on the parchment paper to take the bread out of the pot (be careful, it’s hot!). Remove the paper, and leave the bread to cool on a wire rack. Let it sit at least 30 minutes. Eat!